


Mold Design 3d Object Scanner Establishment Of 3D Object Data Scanning Model
Product Details:
| Place of Origin: | China |
| Brand Name: | KingPo |
| Certification: | Calibration certificate |
| Model Number: | KP- |
Payment & Shipping Terms:
| Minimum Order Quantity: | 1 |
|---|---|
| Price: | To be Quoted |
| Packaging Details: | satety plastic tool box or plywood package. |
| Delivery Time: | 25 |
| Payment Terms: | T/T |
| Supply Ability: | 25 per month |
- Description
- Reviews (0)
Description
Detail Information
coordinate measuring machine
,
metallographic machine
Product Description
3D Scanner For Mold Design / Establishment Of 3D Object Data / Scanning Model
Aboud 3D Research and development
Whcmm 3d is committed to 3D digital manufactring, professional R & D white light , laser and optical
detection of the workpiece series of 3D scanning andmeasurement system. after years of unremitting
efforts to achieve a series of products anddiversification. Products include 3D optical scanners,
handheld 3D scanners, 3D optical detection system, 3D color scanner , laser body (form) scanners,
while providing user-oriented reverse engineering , rapid prototyping services, digital manufacturing
solutions.And according to customer demand for 3D design services and project implementation .
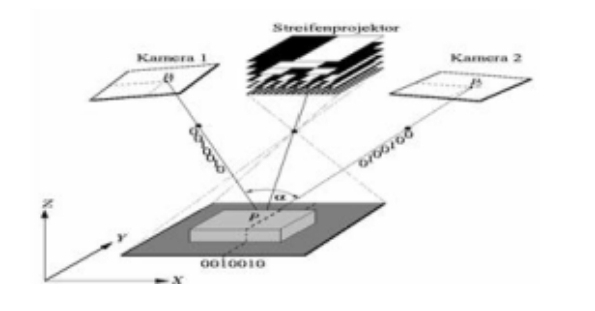
The basic principles of the 3D scanner
Using structured light technique, phase measurement techniques, computer vision technology
3Dnon -c ontact measurement techniques . Using this 3Dmeasurement technology to Photographic
measurements of objects was possible , the so-called photographic measurement, Is similar to the
camera to takepictures of the object field ofview , different Is the camera shot is two-dimensional
images of objects, and the development of the measuringinstrument 3D object is obtained digital
information . Withthe traditional 3D scanner The difference is that Chinese Long continuous
measurement of 3D scanner to a 3D surface, the measured When the amount of raster (spot)
several pieces ofequipment projected light specificcoding structure (Point) to the test object, into a
certainangle of two (or more) photo Mined as the first synchronization corresponding image , and
then phase and decoding of image Calculated , and the use of matching techniques , triangulation
principle, calculate the two solutions One (or more) industrial camera field of view of public
surface of the three pixels Dimensional coordinates..
Working Principle of 3D scanner
Product applications
Reverse engineering (RE) / Rapid Prototyping (RP) /CAD / CAM
· Scan-kind, the establishment of 3D object data; or scanning model , Build 3D surface of the part used to detect data
· Mold Design
· Using the true model created by the RP , establishand improve product
Design Test (CAT / CAE)
· production line quality control and detection of surface parts of the shape
· Finite Element Analysis
· Dynamic object trajectory measurement and motion capture
Research
· computer vision , robotics
· Computational Geometry
· Ergonomic
· Archaeological Research
Other applications
· 3D reconstruction of the scene
· artifacts, works of art entry, 3D display andproduct protection
· 3D animations
· Medical Plastic, etc.
Automotive, transportation
Recommended models: Nanke3d-AT Nanke3d-AZ
Direction of the work: for the body , hull design, train and interior design,
with Car design, motorcycle body design ,avariety of body sheet metal parts design, design of plastic parts (car seat , instrument panel, bumper).Can also berelated to mold or workpiece error detection and quality assessment
Applications: vehicle measurements , auto parts, railway engineering, Ship measurements.
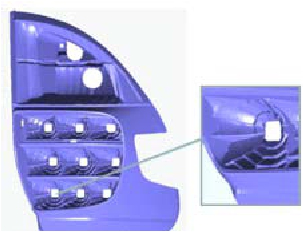
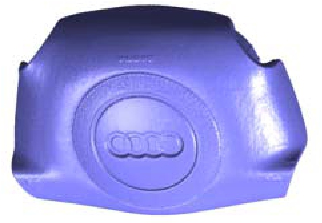
Lights 3D drawing steering wheel, 3D drawing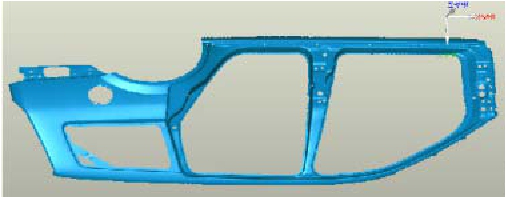
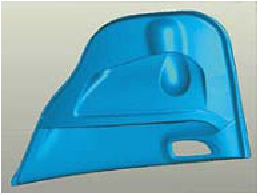
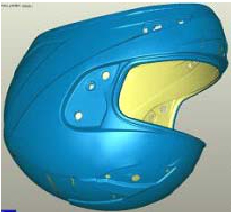
Drawing from 3D scan data door Helmet scan data
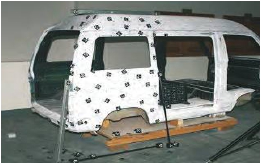
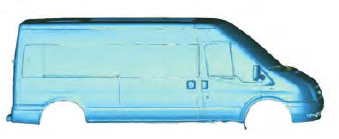
Auto scan site Auto scan data
Manufacturing (footwear industry , toy industry , carving industry , ceramic snitary ware, digital artifacts )Footwear industry
Recommended models: Nanke3d-AM
Direction of the work: for a variety of heel, shoe last ,shoe design (including the design of sports shoes, design shoes , design shoes , slippers design).
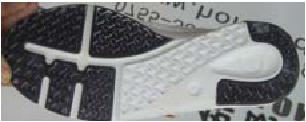
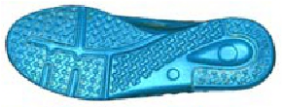
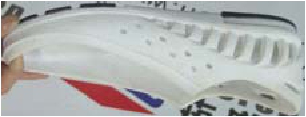
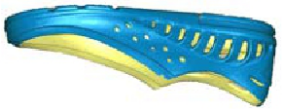
Original shoes Scan shoes
Toy Industry
Recommended models: Nanke3d-AM
Direction of the work: Can quickly come to shape theproduct characteristics, accuracy
0.02mm, but also on the mobile phone , keys and other precision parts for scanning .
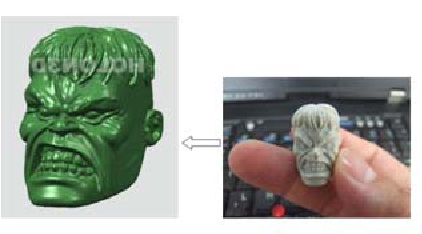
Toy body Toy scan
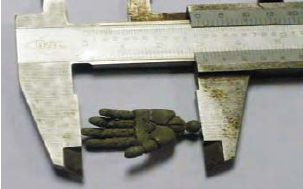
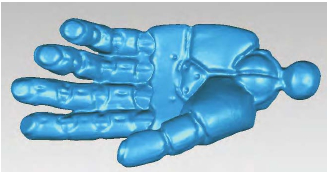
Small hand scan

Stone carving
Industrial Inspection
Recommended models: Nanke3d-AT Nanke3d-AZ
Direction of the work: Measured using 3D piece of 3D scanner data, with the Qualify,
Solidworks software and otherrelated test , measurement and analysis of 3D parts and
generate error reports , greatly improved work efficiency , improve product yield
Applications: product testing , measurementcom parison, assessment sampling
Nanke 3D measurement accuracy of better industrial measuring instrument , can fully meet the requirements of industrial inspection accuracy . For quality control and geometrical sizedetection , especially for the detection of complex surfaces .
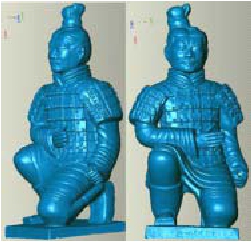
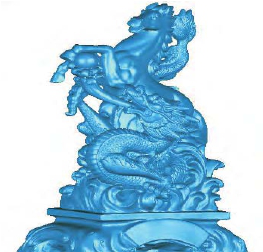
Microwave antenna scanned the scene analysis of microwave antenna receiver
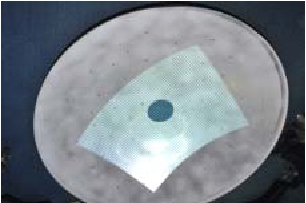
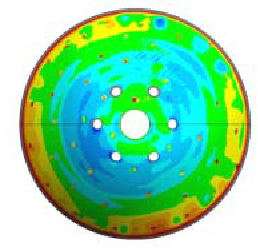
Measuring and contrast
Of the workpiece CAD design with 3D geometric shape than the right, quickly and easily form a large piece of product quality inspection ; the workpiece can be measured in different periods under the force of deformation.
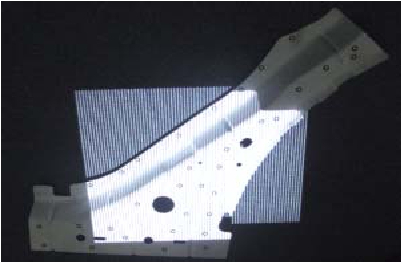
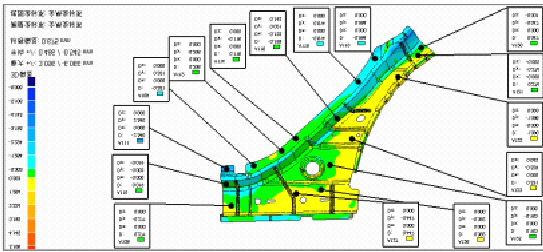
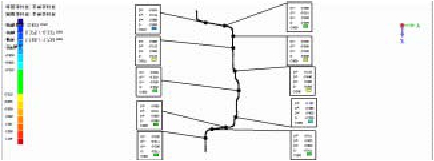
Automotive sheet metal scanning the scene
Application industry
Body and ship design , mold manufacturing , aerospace industry , industrial design
industry , medical and beauty industry , casting pieces scanning probe , wood /stone
carving industry , product testing and evaluation of the error , ceramic sanitary ware
industry , underwear mold making , toy industry appliances product modeling ,
conservation and data scanning , 3D body scan of the application (reverse
engineering) , footwear and so on.
Product Type
NANKE3DB
NANKE3DB-II
3D white light scanning products imported lenses , optical components and stability of the grating chip , with:
● Scan speed ≤ 5 seconds;
● high precision ≤ ± 0.015mm
● signs point automatic stitching; intelligent software to generate single point cloud data
● scanning range to scan an object the size of adjustment to meet the requirements of a variety of workpiece
● scan depth of field up to 0 ~ 500mm
● Measuring output data interface is widely
● measurement system with 3D photography , faster, more accurate
| Model | NANKE3DB-2M | Nanke3dB | |
| Scaning mode | Non-contact surface measurement | ||
|
Single measurement format (unit: mm3) |
400×300 200×150 100×75 |
400×300 200×150 100×75 |
|
| Overall scan range(unit: mm3) | 50mm-3000mm | 50mm-3000mm | |
|
Single scan precision (unit:mm) |
0.01~0.015 | 0.01~0.015 | |
|
Single measurement time (: s) |
≤ 3s | ≤ 5s | |
|
resolution (unit: pixel) |
2,000,000X2 | 1,300,000X2 | |
| Output file format | AC;ASC ; PLY ; STL ; OBJ | ||
| Splicing | Fully automatic Splicing | ||
| interface | 1394B | USB2.0 | |
| Operating system | Windows98/NT/2000/XP/Vista/Win7/Win10 | ||
| power supply | 100~ 240V AC | ||
| Applications |
Auto and ship design mold manufacturing wood /stone carving Etc. |
toy industry appliances product modeling Etc. |
|


Reviews
There are no reviews yet.